
This page describes our work undertaken in 2022 and 2023 (including the winter storage period) to overhaul and refurbish our teak deck
Text relates to work already started in June 2022 - finishes in June 2023
A general introduction to the subject:
Over her first 20 years (before we became owners) Ngahue IV's teak decks had been given, we suspect, a relatively typical 'German' treatment by her first two owners. That is to say, that they quite regularly had the deck sanded and cleaned to achieve a nice and mellow-brown colour of the wood. When you do this, however, you remove a fine top layer of the wood. Because of such treatment and also because of normal wear and tear, by 2016, the deck was down to about 7-8mm thickness (out of the original 12mm hard wood used by the Yard in 1995) on the walking deck (as the Germans call the side decks), and a good 9+mm deck thickness on the coachroof and the Hard Top. We can understand why owners (and especially brokers) would like to carry out such a treatment. After sanding the deck and polishing the hull, your boat does look like new.
Unfortunately, each treatment removes a thin layer of wood, and that is wood that regretfully won't grow back!! Furthermore, this near-new prettiness only lasts a month or two... So, with my very Cartesian approach to life, the whole operation seems a little senseless...
Based on our experience with the previous Ngahue boats, the decks of Ngahue IV are treated more delicately. Obviously, they have continued to lose in thickness; but this loss can now be calculated in micrometers and no longer in millimeters! We give our decks a once-a-year deep-penetrating Boracol treatment and otherwise limit ourselves to a wash with soft green soap (with added linseed oil) when needed. This is done with an EXTREMELY soft brush, brushing across the grain of the wood. And perhaps here and there we might add the odd dose of teak oil to nourish our wood, which now indeed is of a venerable age (nearly 28years). The summer in 2022 was extremely hot and dry in our home port/berth in Nieuwpoort; and this certainly wreaked havoc with our ageing deck. The wood dried out a lot and some areas of the caulking went soft and sticky. The weather gurus are predicting similar weather for 2023... Hence the need to give the deck an extended service during the 2022-23 winter lay-up.
Teak oil, when we tried it out on the cockpit seats in 2017, immediately showed a much deeper and honey-coloured aspect of the wood. But, as I've often noticed on our previous Ngahue boats with Teak Oil, the effect is not lasting. In many cases, the oil doesn't dry in a uniform manner and leaves a blotchy deck behind. This is probably due to the nature of the grain of the teak wood, some of which may absorb teak oil at different rates. We may perhaps give it a new try during the 2023 sailing season.
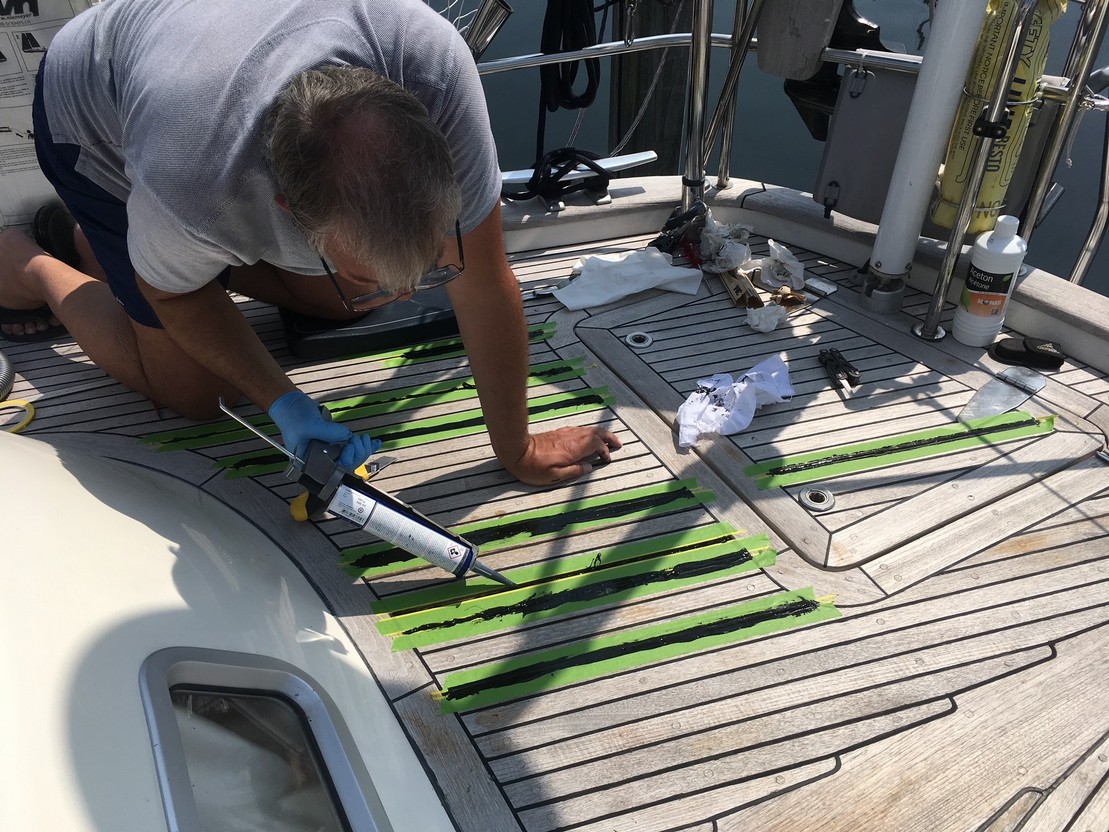
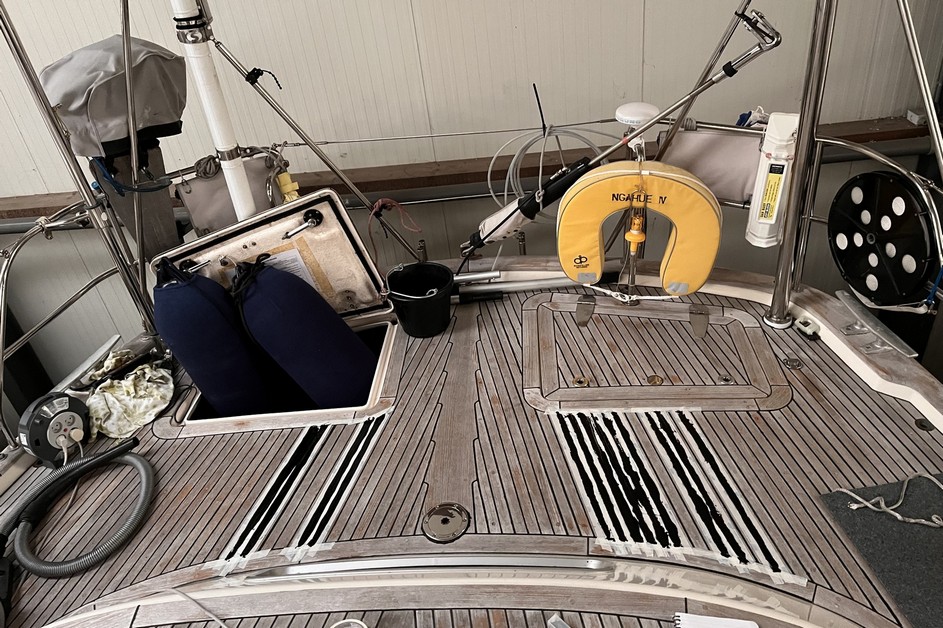
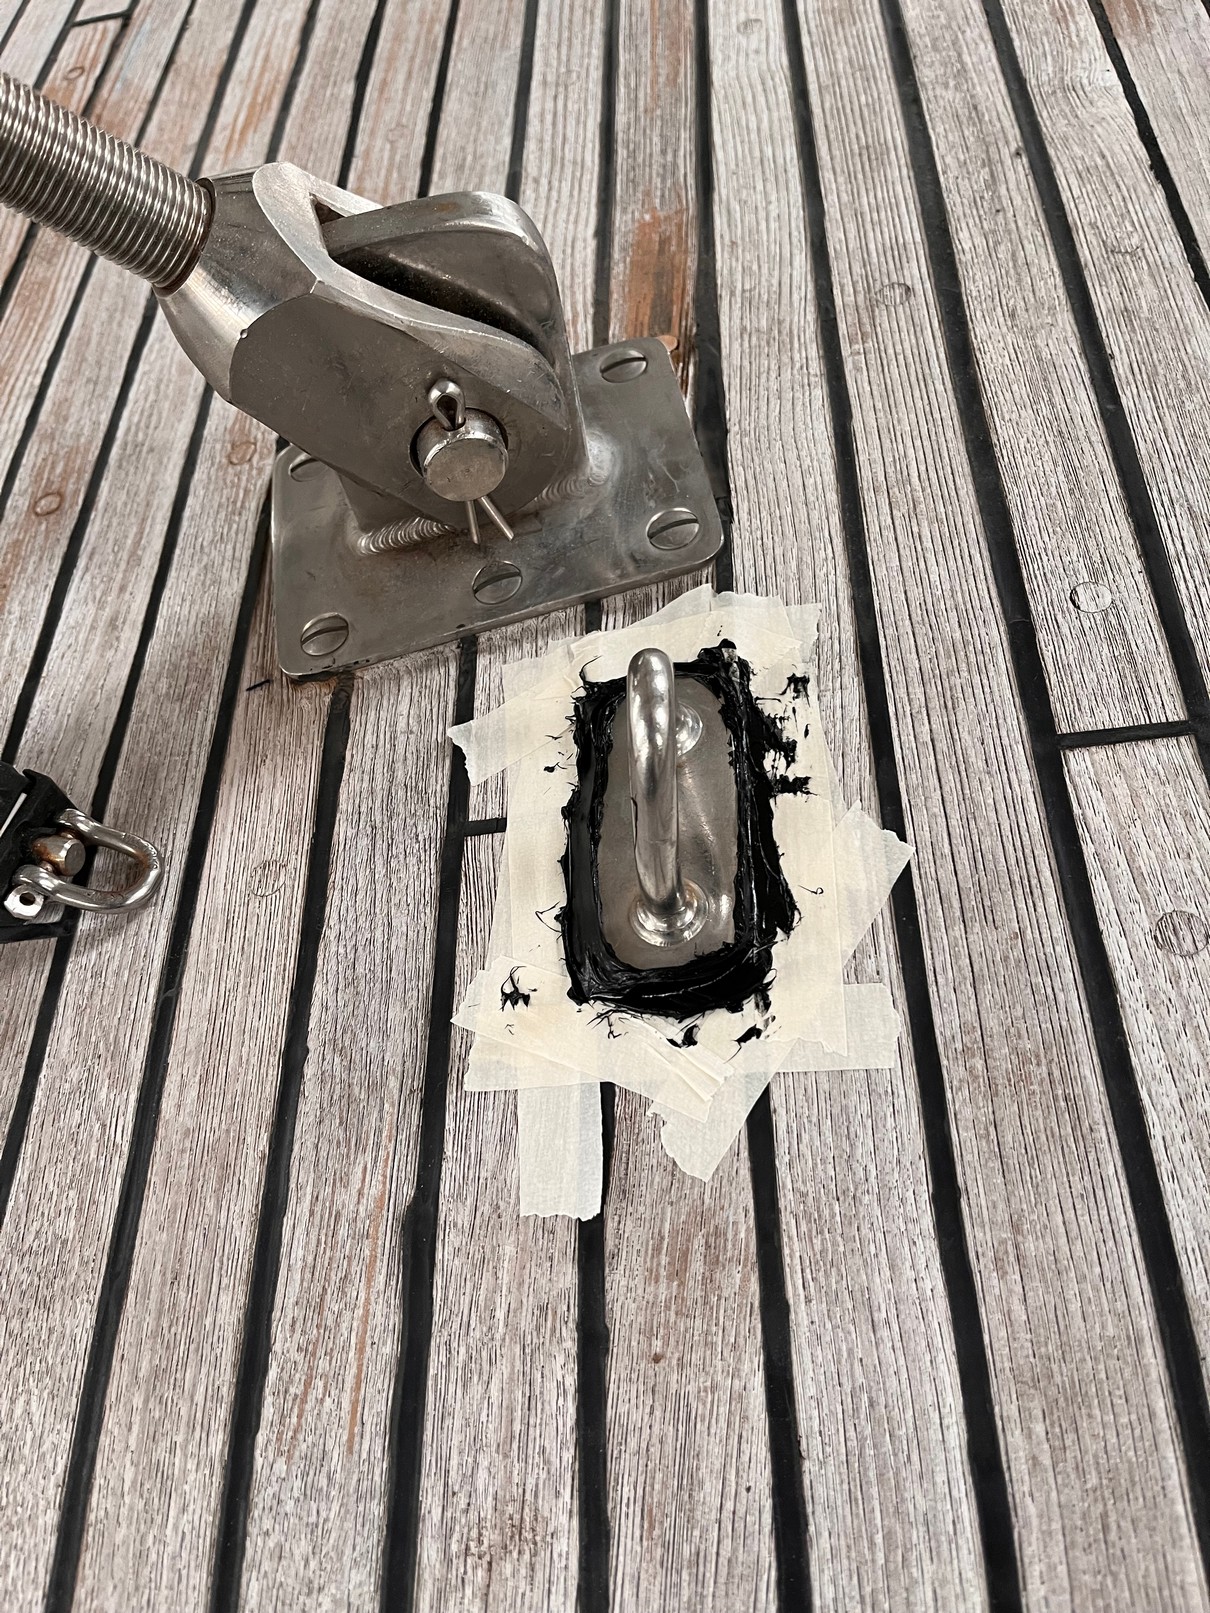
Sailing in the tropics (2017 -> 2020) seemed to have affected our decks relatively positively, as they looked a lot "whiter" under the Caribbean and Pacific sun than in Europe where battleship grey dominates... Then again, in the tropics, I did seemed to be spending a lot of time replacing the dowels after each long(er) sea passage or heavy tropical shower (of which, in the rainy season, there are lots down there)!!! And the deck seams seemed to have taken extra punishment in the tropical sun; the caulking required a lot of local repairs (June 2019 - October 2021) by Team Van Swaay and by myself (carefully copying their work processes - see the first photo below). Carefully repairing the caulking these days looks like it will remain an ongoing feature in our deck maintenance until such time that we replace the whole teak deck... For which we received an indicative price in Sweden of approx. 65K in 2019 (this has increased to 75-90K by the BOOT exhibition in Düsseldorf in 2023). Such numbers are indeed an excellent (financial) motivation to continue keeping our current deck "alive" for as long as possible!!! Reading about some owners who still have reasonable decks of 35-40 years of age shows that 'it can be done'!
How do we do it? -> deck dowels:
Up until the mid-naughties of the 21st century, Hallberg-Rassy glued and screwed its teak decks to its boats. They have since moved on to vacuum-gluing the decks (our cockpit was done that way), which dispenses of the use of screws and hence explains the absence of dowels on modern HR decks. You can also use thinner wood; modern decks are ±10mm thick compared to ±12mm for the older ones. You can have up to several thousands of screws holding your deck to the polyester moulding underneath (I've never counted our dowels, but have replaced several hundred over the years. And each screw is capped with a dowel to give a nice finish to your deck. As the deck becomes older and the top layer of wood is worn away (or sanded away by enthusiastic owners or brokers - see above), there is less and less wood surrounding the dowel and holding it in place. At some stage, inevitably, the dowel will pop off, often when the wood has been soaked in water (a wet passage; a tropical downpour), or walked on with much vigour (e.g. when the mast is taken down and the men doing the work have to move around a lot on the deck and quite understandably can't float over the wooden planks!). If you don't want your deck pock-marked with unsightly visible screw tops, you will have to replace the dowel. Hallberg-Rassy Parts in Ellös has just the kit to help you.
Mostly the Yard used rounded cross-head screws to fit its decks. HR Parts now provides new flat-headed 12mm Torx screws that give you a little extra depth over the screw top for your new dowel. I have a little flat-headed screwdriver that I use to remove some wood from the bottom of the hole in the deck slat. This allows me to screw the new Torx screw in a little deeper to have about 3mm of room between the top of the screw and the surface of the deck. This extra room will allow the whole repair to last much longer as it will take quite some years to wear away 3mm of the new teak dowel.
The HR Parts kit also comes with ready-made dowels - these tend to be just a bit oversized for our deck. That means that each dowel needs to be shaped and reduced a bit in size to fit snugly in the hole. HR Parts also sells special poly-urethane deck glue, a couple of drops of which I dab into the hole. The newly shaped dowel is gently taped into place using a smallish hammer. The glue will expand whilst its drying, so it pays to check on your dowels 1-2 hours after you fitted them to see that they're still snugly and vertically in the deck. I use a breakable cutter knife to cut off the excess wood of the dowel once it has dried (usually after 24 hours). Many recommend using a chisel, but I have found that too 'violent'... As a last step, I using a Detail sanding machine or 'Mouse' to sand away the stains made by the glue on the deck around the replacement dowel... The dowel will look darker than the surrounding deck for a week or so, but it quickly assumes the battle-grey colour attributed to old wooden teak decks.
During a normal sailing season in Europe, I need to replace about 20 dowels each year. In October 2022, I decided to replace ±70 dowels in one go and will probably follow this up with another 20-30 in the course of the winter/spring 2023. The boat's second owner had replaced many dowels using a black, tar-like glue; these can be identified also by his use of flat cross-head screws as well as flat Torx screws.
How do we do it? -> deck caulking:
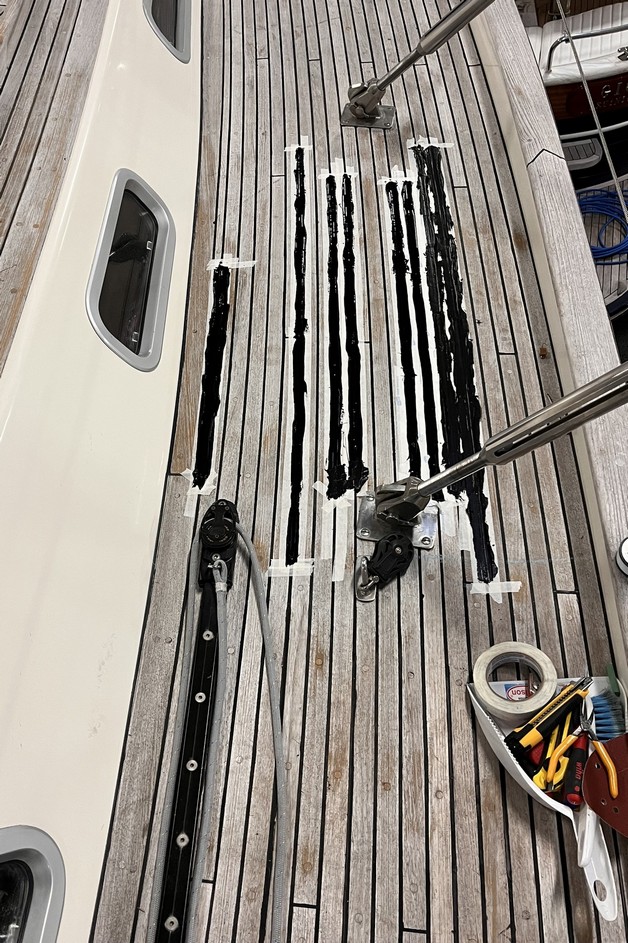
Despite being a tropical hard wood, teak does wear out. The caulking between the wood, however, does not. As a result, after some years the caulking stands proud (sticks up) of the wood. As you walk around the deck, you run the risk of twisting the caulking out from the grooves between the wood slats of your deck. One solution is to cut away the excess caulking (using a MOZART knife for instance - see tools below; or, with a steady hand, a simple wide-bladed cutter knife). At some stage though this won't be enough, especially if you want to cut your caulking down to wood level (because of the blade's shape, a MOZART knife will leave a small amount of caulking standing proud of the wood). Then the more serious process of replacing the caulking itself will have to be undertaken. On Ngahue IV this became necessary as parts of the older caulking because liquid and started to disintegrate in the hot summer of 2022. The process is relatively simple:
* cut out and remove the old caulking (from the German chandlery SVB you can buy a special hook-like tool for this;
* clean out the grooves and degrease the wood (teak wood is by its nature a relatively greasy wood, so degreasing it will help your caulking to adhere better);
* use good masking tape to mark off the sides of the groves;
* fill up the grooves with the caulking material of your choice;
* flatten the caulking nicely into the groove; and let dry.
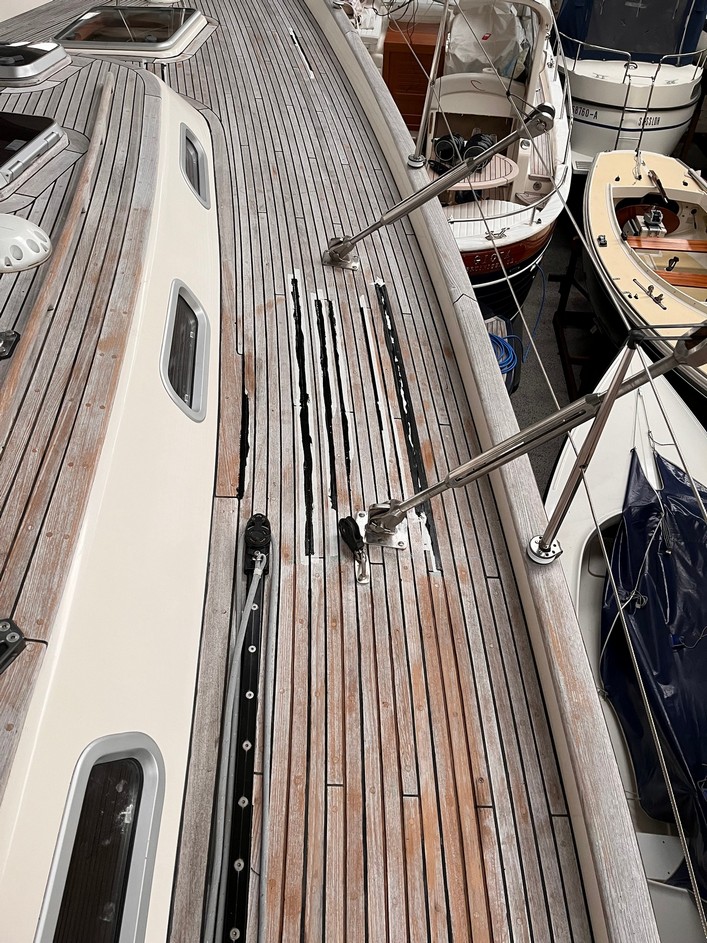
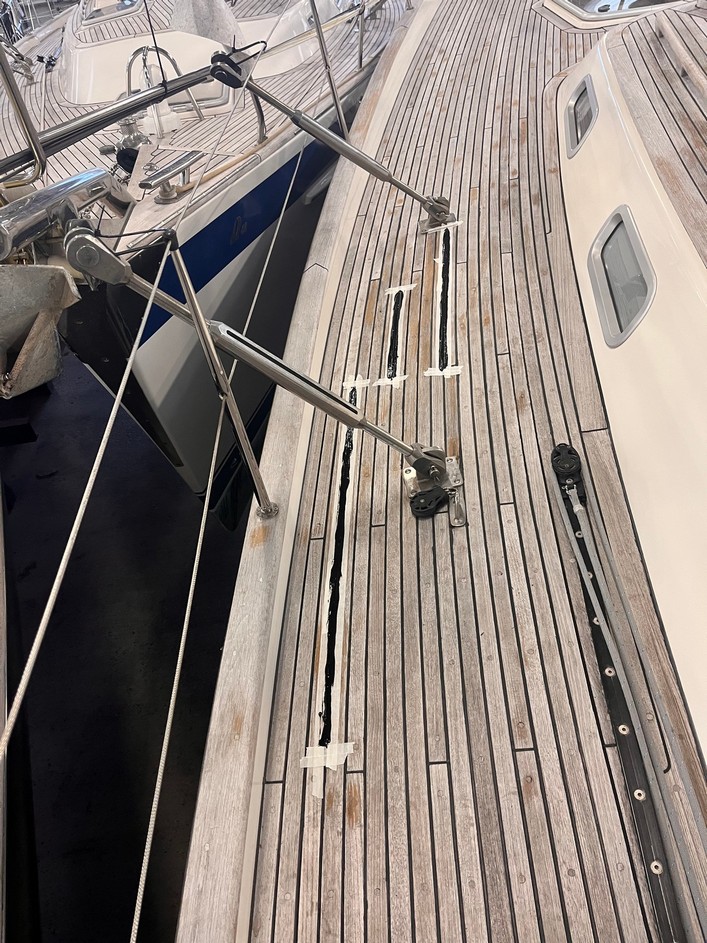
Once dry, remove the masking tape (never do this too quickly) and clean up the deck. And you're ready (hopefully) for another decade of trouble free sailing... (repairs sometimes don't last that long - often a matter of the quality of the caulking used or the condition of the wood at the time of your repairs).
Tricks and traps? It's a pretty time-consuming job. It doesn't require enormous amounts of knowledge: my contention is that any reasonably proficient handyman can do the job. You can easily lose yourself in the yards and yards of caulking line in your deck, so I find a coloured piece of chalk to mark off the areas that require attention useful. Using power tools is tempting, but personally I can't control them enough to prevent them from spinning out of control and damaging parts of the deck that can do without deep gouges or scars appearing. Another thing to be careful of is the sun: High Noon on a hot summer's day will probably 'cook' the black caulking as it's drying. Not good for a long-lasting repair.
How do we do it? -> sanding the deck:
Although I have indicated above that we do NOT sand Ngahue IV's teak decks, there are a few occasions when some very light sanding is called for. On those occasions we use one of our 'Mouse' (small hand-held sanding machine) tools to remove excess loose surface wood and 'fluff' (for want of a better word) of the deck. With age, the individual deck slats become grooved or pitted and in my view it is a good idea to gently sand the wood to achieve a less grooved surface. This will stop stagnant water penetrating deep into the wood and making it softer and thereby more susceptible to wear and damage. The capping rail gets this treatment about once a year as it is made up of segments of very thick piece of wood; consequently, what we remove is a negligible layer!
|
|
|
|
| |
|
|
|
|
|
|
|
How do we do it? -> the tools we use:
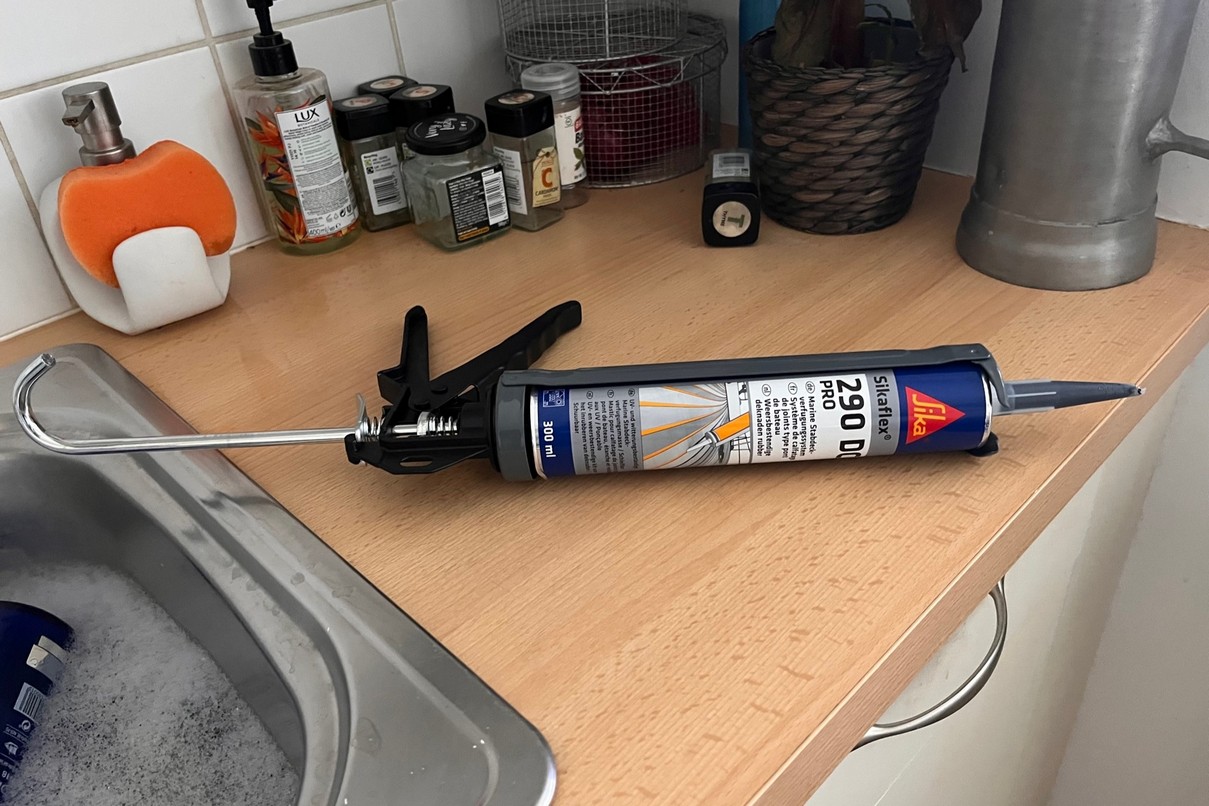
I was trained as a pen-pusher, not a shipwright. So any professional looking at me working on the deck would certainly have kittens (as they say) from my working methods. My tools tend to be simple and obtainable in any DIY-store. I use a collection of modern cutter knives (wide bladed ones are best)to cut out caulking or to cut the tops off dowels. It pays to have a lot of spare blades, as blades in use do become dull and blunt quite rapidly. Breakable cutter blades are great as you can remove a segment at a time and maintain a sharp cutting edge. Out dowel repair box contains a strong cross-head screwdriver, a couple of small flat-bladed screwdrivers and a couple of 12mm Torx screwdrivers (they can and do break and become unusable). A couple of small flat-bladed screwdrivers where the top is 4mm wide make a great tool to clean out the slot left in the deck once the caulking is removed. Rags, paper kitchen rolls, cleaning petrol and acetone add to the consumables. For the caulking itself we resort to Sikaflex 290 DC Pro - it is slightly more liquid than the caulking sold by HR Parts. The caulking is squirted into the grooves using a standard sealant gun (buying a little extra for a strong model is not a bad idea, as cold Sikaflex does require a certain effort. A few years ago we discovered a tool that is rather quaintly called a MOZART knife. It was developed for soft furnishings professionals laying down and gluing linoleum on floors. Its cutting edge is semicircular in shape and allows the two sides of the blade to sit and slide on the deck, with the cutting part of the blade removing excess caulking that has come to stand proud of the wood (the wood wears away with time, but the caulking doesn't). A few of us mentioned this tool in Ellös, where HR Parts now sells it too.
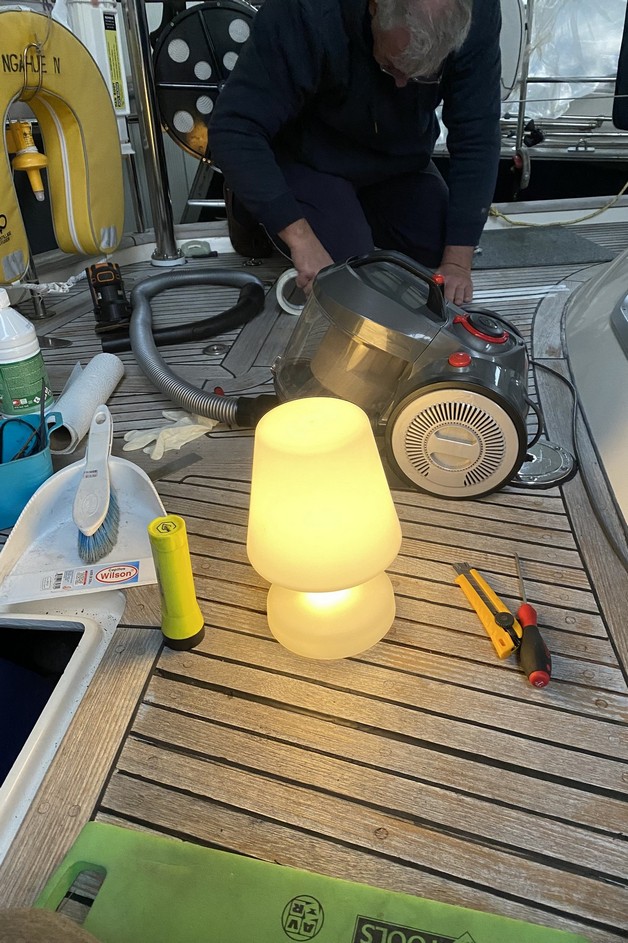
It's been only in recent times that we have added a specialised Reefing Hook and Caulk Sander (obtained through SVB in Germany - but sold by chandleries on both sides of the Atlantic) to the boat's tool-box. The Reefing Hook is a claw-like device that will strip the old caulking out of the deck's seams (there are films on You Tube, where the job looks a lot easier than on Ngahue IV - of course)! The Caulk Sander is a long and narrow piece of wood with 60-grit sand paper that allows you to free the old slot of any caulking remnants. Last of all, I should mention the boat's vacuum-cleaner (called Dirt Devil and acquired very cheaply in Germany's DIY store called OBI - see photo); it's a strong sucker of dust and is easily disassembled. That's an important feature because lengths of removed caulking will block up any vacuum-cleaner. In the course of a day working on the deck, the vacuum-cleaner will be emptied a couple of times and blockages removed to restore full suction power.
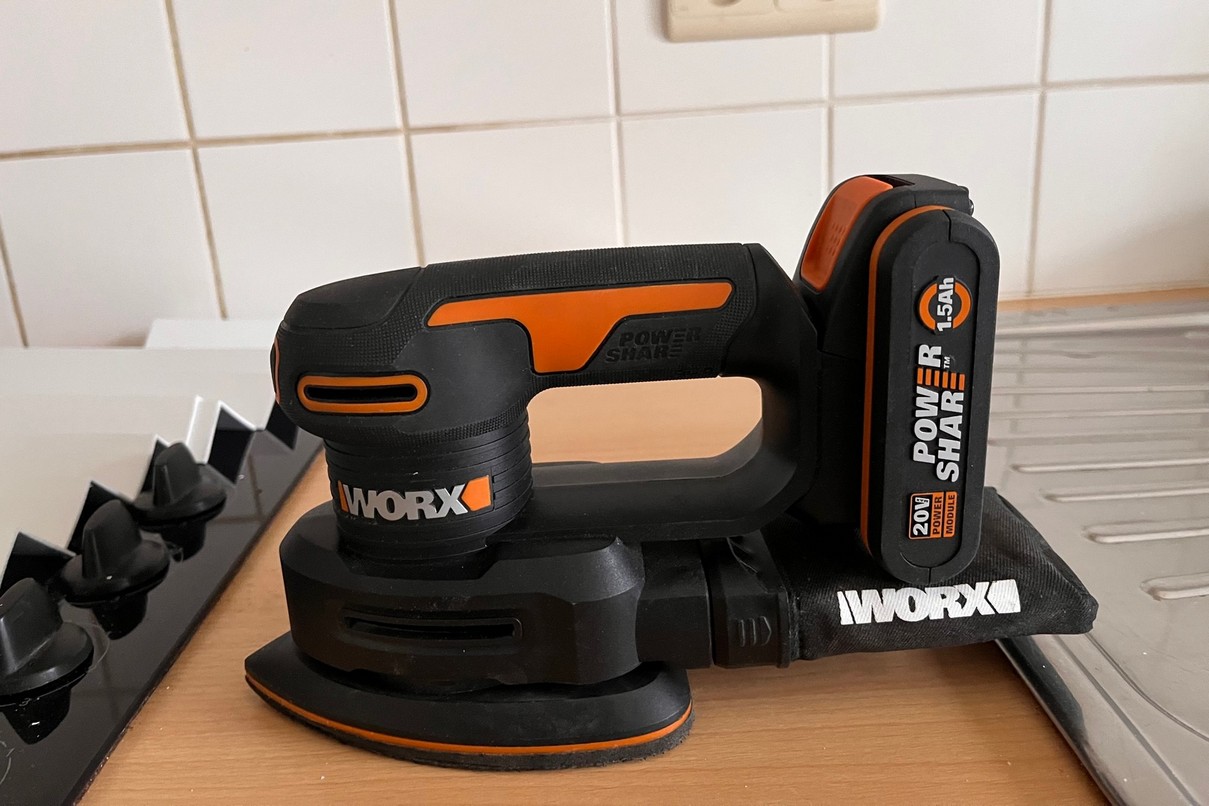
From 2017 onwards, we started buying battery-operated tools which are sold in Belgium and the Netherlands under the WORX brand name. The clever thing here is that the batteries are Lithium and interchangeable between tools. The electric saw is very good in that it will (with a collection of duly adapted blades) happily cut through our standing rigging like the proverbial hot knife through butter (yes, we did test it on some thick stainless steel wire in Curaçao - but not our rigging currently in use). With 4 WORX tools on board and 7 battery-packs that should see us out of trouble should the mast ever come down...
I saw with interest that one HR-owner uses a battery-operated circular saw with two blades fitted next to each other to give just the right width of the caulking seams. He then 'saws' out the old caulking. It looks like a very useful and efficient technique. Unfortunately I don't trust my own handiness to control the forces of a circular-saw-gone-wild and would be afraid of damaging too much teak deck next to the grooves that I would like to empty of their old caulking. So I will stick with hand power for this part of the job.
How do we do it? -> the products we use:
When we bought Ngahue IV in 2016, the previous owner had spent quite some time replacing the caulking. I remember him thanking his broker, Mr. Kai Marres, for suggesting a specific brand of caulking which he felt was very good. But only a few years later this brand already started playing up! In the beginning I used the two tubes that the previous owner left us, but have failed to record where we used it and whether it is still going strong...
Because it was available in the chandleries we visited, we have used (more or less exclusively) Sikaflex products. Sikaflex 290 DC Pro has so far given good results (though our experience here is only for a maximum of 4 years only). We have also used the deck caulking sold by Hallberg-Rassy Parts, which proved a joy to use - but we have no experience yet with its durability. When sealant needs to be used for areas where you don't walk over it, we use Sikaflex 291 (black or white) which gives a nice and durable seal (see for instance photo next to our vacuum cleaner). Another favorite product to effectively seal openings on board is Butyl tape (a product which was also extensively used in the automotive industry).
... this page will be added to throughout 2023, as work on the deck usually continues during the sailing season...
Return to Ngahue IV's technical page "Outside"